Baseboards have a annoying habit. They stay pristine for exactly three days after you clean them. Then, like clockwork, they turn gray and fuzzy again. Dust finds its way back to that narrow strip between the floor and the wall. It feels personal. In many homes, baseboards take a beating. Vacuuming is often a half-hearted job. The brush roll skips over them. Drafts push particles along the floor. The result is a buildup of lint, pet hair, and a dark smear along the bottom of the wall. But there is a trick. It isn’t about scrubbing harder. It’s about cleaning first, then protecting. The most effective barrier isn’t a fancy spray. It’s a dryer sheet.
Why Baseboards Collect Dust and Pet Hair
Baseboards sit at ankle height. They catch everything. Daily foot traffic grinds dirt into the surface. Heating systems move air, carrying micro-particles from outside. Static electricity plays a huge role. When the air is dry, certain materials attract fine dust and hair like magnets. In a lived-in house, the combination is relentless. Repeated walking. Shedding pets. Debris that rolls across the floor until it hits the first vertical surface.
Molded trim makes it worse. Angles create corners where dirt hides. Ridges catch fibers. When light hits the wall at a low angle, every speck becomes visible. The problem often comes from cleaning methods that backfire. Too much water turns dust into paste. It dries into streaks. A poor-quality cloth just smears dirt around instead of lifting it. Dry scrubbing kicks dust back into the air. It settles right back down, often in thicker clumps. The goal flips when you change the approach. Clean thoroughly. Then apply a nearly invisible shield. This barrier reduces stickiness without leaving grease or shine.
The Four-Step Method for Clean Baseboards
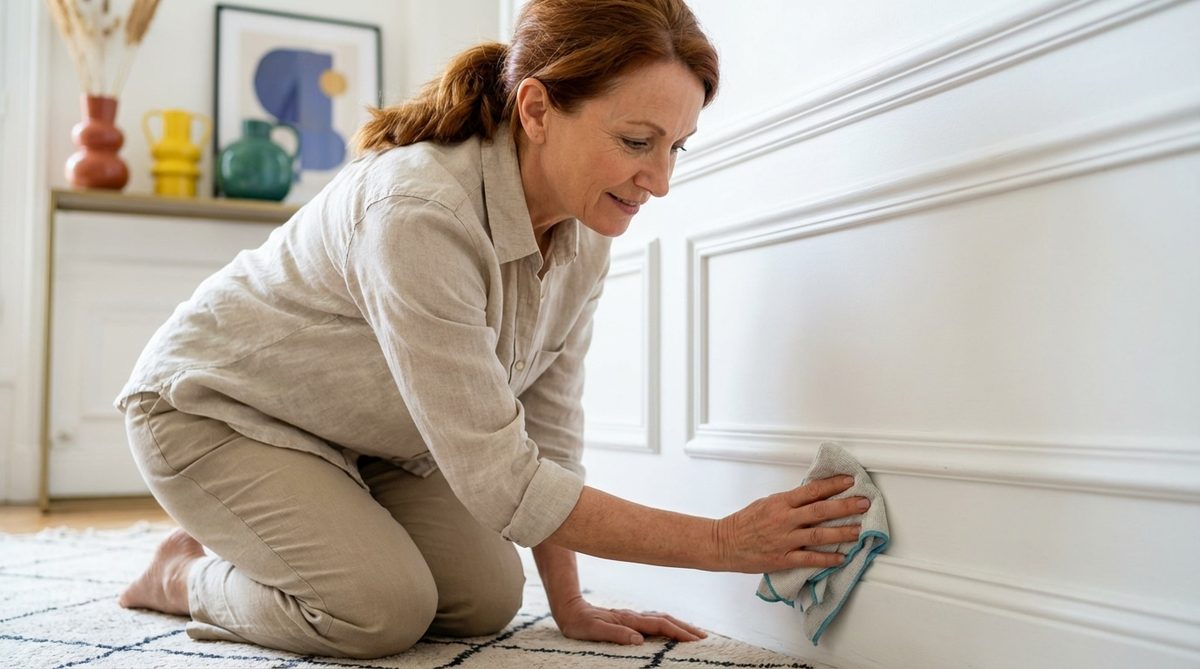
The first step uses a microfiber cloth. Dampen it slightly. Not wet. Just damp. This traps dust rather than pushing it. Fold the cloth into sections. This keeps you working on a clean side. Never scrub. Wipe along the length of the baseboard. Focus on high-traffic zones. Entryways. Hallways. Around door frames. This motion captures particles. It prevents the gritty texture that forms when dust mixes with moisture.
Next, tackle the details. Use a soft brush. A furniture duster. A clean paintbrush. Get into the corners. Work along the joints. Clean the grooves of decorative molding. The brush dislodges what the cloth misses. Be gentle. You don’t want to scratch the paint or finish. Once the dirt is loose, go over it again with the microfiber cloth. This catches the debris before it falls to the floor and sticks back on.
The third step is often skipped. Dry the surface. Use a clean, dry microfiber cloth. This removes any remaining moisture. It prevents streaks. It stops water spots. This detail gives baseboards a sharp look. It prevents the “halo” effect on white trim. Only after the surface is dry do you apply protection. Use diluted black soap. This isn’t for cleaning. It leaves a thin film. It makes the surface slicker. Dust slides off instead of sticking.
The Unexpected Hack: Using Dryer Sheets on Baseboards
Here is the part that sounds strange. Take a used dryer sheet. Rub it gently along clean, dry baseboards. Do this sparingly. One pass is enough. Don’t go back and forth. Overworking it can leave a residue.
The logic holds up. Dryer sheets contain anti-static agents. They reduce the electrical charge on the surface. Less static means less attraction. Dust doesn’t cling as tightly. Pet hair slides off easier. On spots where lint builds up quickly, the difference is noticeable. Dirt rolls along the floor instead of sticking to the wall. It becomes easier to vacuum later. This works especially well in rooms with lots of textiles. Curtains and rugs shed fibers that float around.
There are limits. Test on fragile surfaces first. Matte finishes can sometimes look marred. New paint might react poorly. Highly scented sheets can leave a strong smell. This might be unpleasant in a bedroom. If you press too hard, you might leave a greasy film. Grease attracts more dust. The key is moderation. Light touches only.
Safety and Material Considerations
Before you start, check your baseboard material. Painted wood is generally safe with mild soaps and dryer sheets. Vinyl can handle the same treatment. Natural stone or unfinished wood requires caution. Test any solution in an inconspicuous area first. Always ensure the surface is completely dry before applying any protective layer. Moisture trapped behind a film can damage certain finishes over time. Keep a dedicated cloth for this task. Don’t use the same one you wiped the kitchen counter with. Cross-contamination ruins the anti-static effect.
When to Repeat the Process
You don’t need to do this daily. The protection lasts longer than a standard wipe-down. Watch for the signs. When dust starts to accumulate faster than usual, it’s time. Maybe once a month. Or every few weeks in high-traffic areas. The goal is maintenance, not deep cleaning each time. Keep a stack of dryer sheets in a drawer near your cleaning supplies. It’s an easy habit to form.
Homeowners often overlook the bottom few inches of a wall. They focus on floors and counters. But baseboards define the room’s boundary. A clean line at the floor makes the whole space feel sharper. It’s a small detail. It costs almost nothing. Yet it changes how the room feels. The dust still comes. But it doesn’t stick. It rolls away. You vacuum it up. The baseboards stay cleaner for longer. It seems too simple to work. Until you try it. Then you wonder why you didn’t do it sooner. The wall meets the floor. And for once, they stay clean.
The Case for Consistency Over Intensity
You do not need to dismantle your weekend for baseboards. A short, frequent wipe-down beats a frantic monthly scrub every time. The rhythm depends on your specific setup. Do you have pets that shed? Is the HVAC system blowing dust around all day? Is the entryway a high-traffic zone? In a house that actually lives, a quick pass over “strategic” baseboards keeps grime from taking root.
Perfection is the enemy of done. The goal is regularity. Old dust bonds to surfaces. It turns into a sticky film that demands elbow grease later. Fresh dust just floats. It wipes away.
Mental checklist approach works best. Start with the arteries of the house. The hallway. The entry. Then move to the living room, bedrooms, and finally the kitchen. Kitchens are special. Baseboards there collect two things: dry dust and grease micro-projections. You need a damp cloth, wrung out until it is barely moist. Then a dry follow-up to prevent streaks.
Details make the difference. Look under the lip of the molding. Check the corners near door frames. Inspect the junction where wall meets floor. That is where the moutons (dust bunnies) hide. Gentle, consistent motions keep things clean without turning cleaning into a chore.
The Sequence That Actually Works
The secret is not the product. It is the order of operations.
- Brush to loosen.
- Wipe to capture.
- Dry to finish.
- Protect lightly.
Skip the water overload. Excess moisture creates a static charge. It turns your baseboard into a magnet for more dust. Dry rubbing does the same. You want a surface that slides. Clean. Smooth.
Use diluted black soap for the final touch. It leaves a microscopic barrier. It makes the next layer of dirt easier to remove.
Here is the hack most people miss. Take a dryer sheet. Run it lightly over clean, dry baseboards. The anti-static agents repel pet hair and dust for days. It sounds too simple to work. It works.
Sustainable Habits for Low-Maintenance Homes
You do not need harsh chemicals. You do not need aggressive scrubbing. You need calm, repeated actions before dirt sets in. A clean house is not built in a single day of marathon cleaning. It is built in three-minute adjustments.
Think about where else dust accumulates. Light switches. Door handles. Window sills. These are high-touch zones. They gather grime just like baseboards. Apply the same logic. Clean first. Protect second. Keep it simple. Keep it consistent.
The next time you pick up a cloth, remember: less is more. A little effort, regularly applied, saves hours later. What else in your home could use that same low-friction approach?