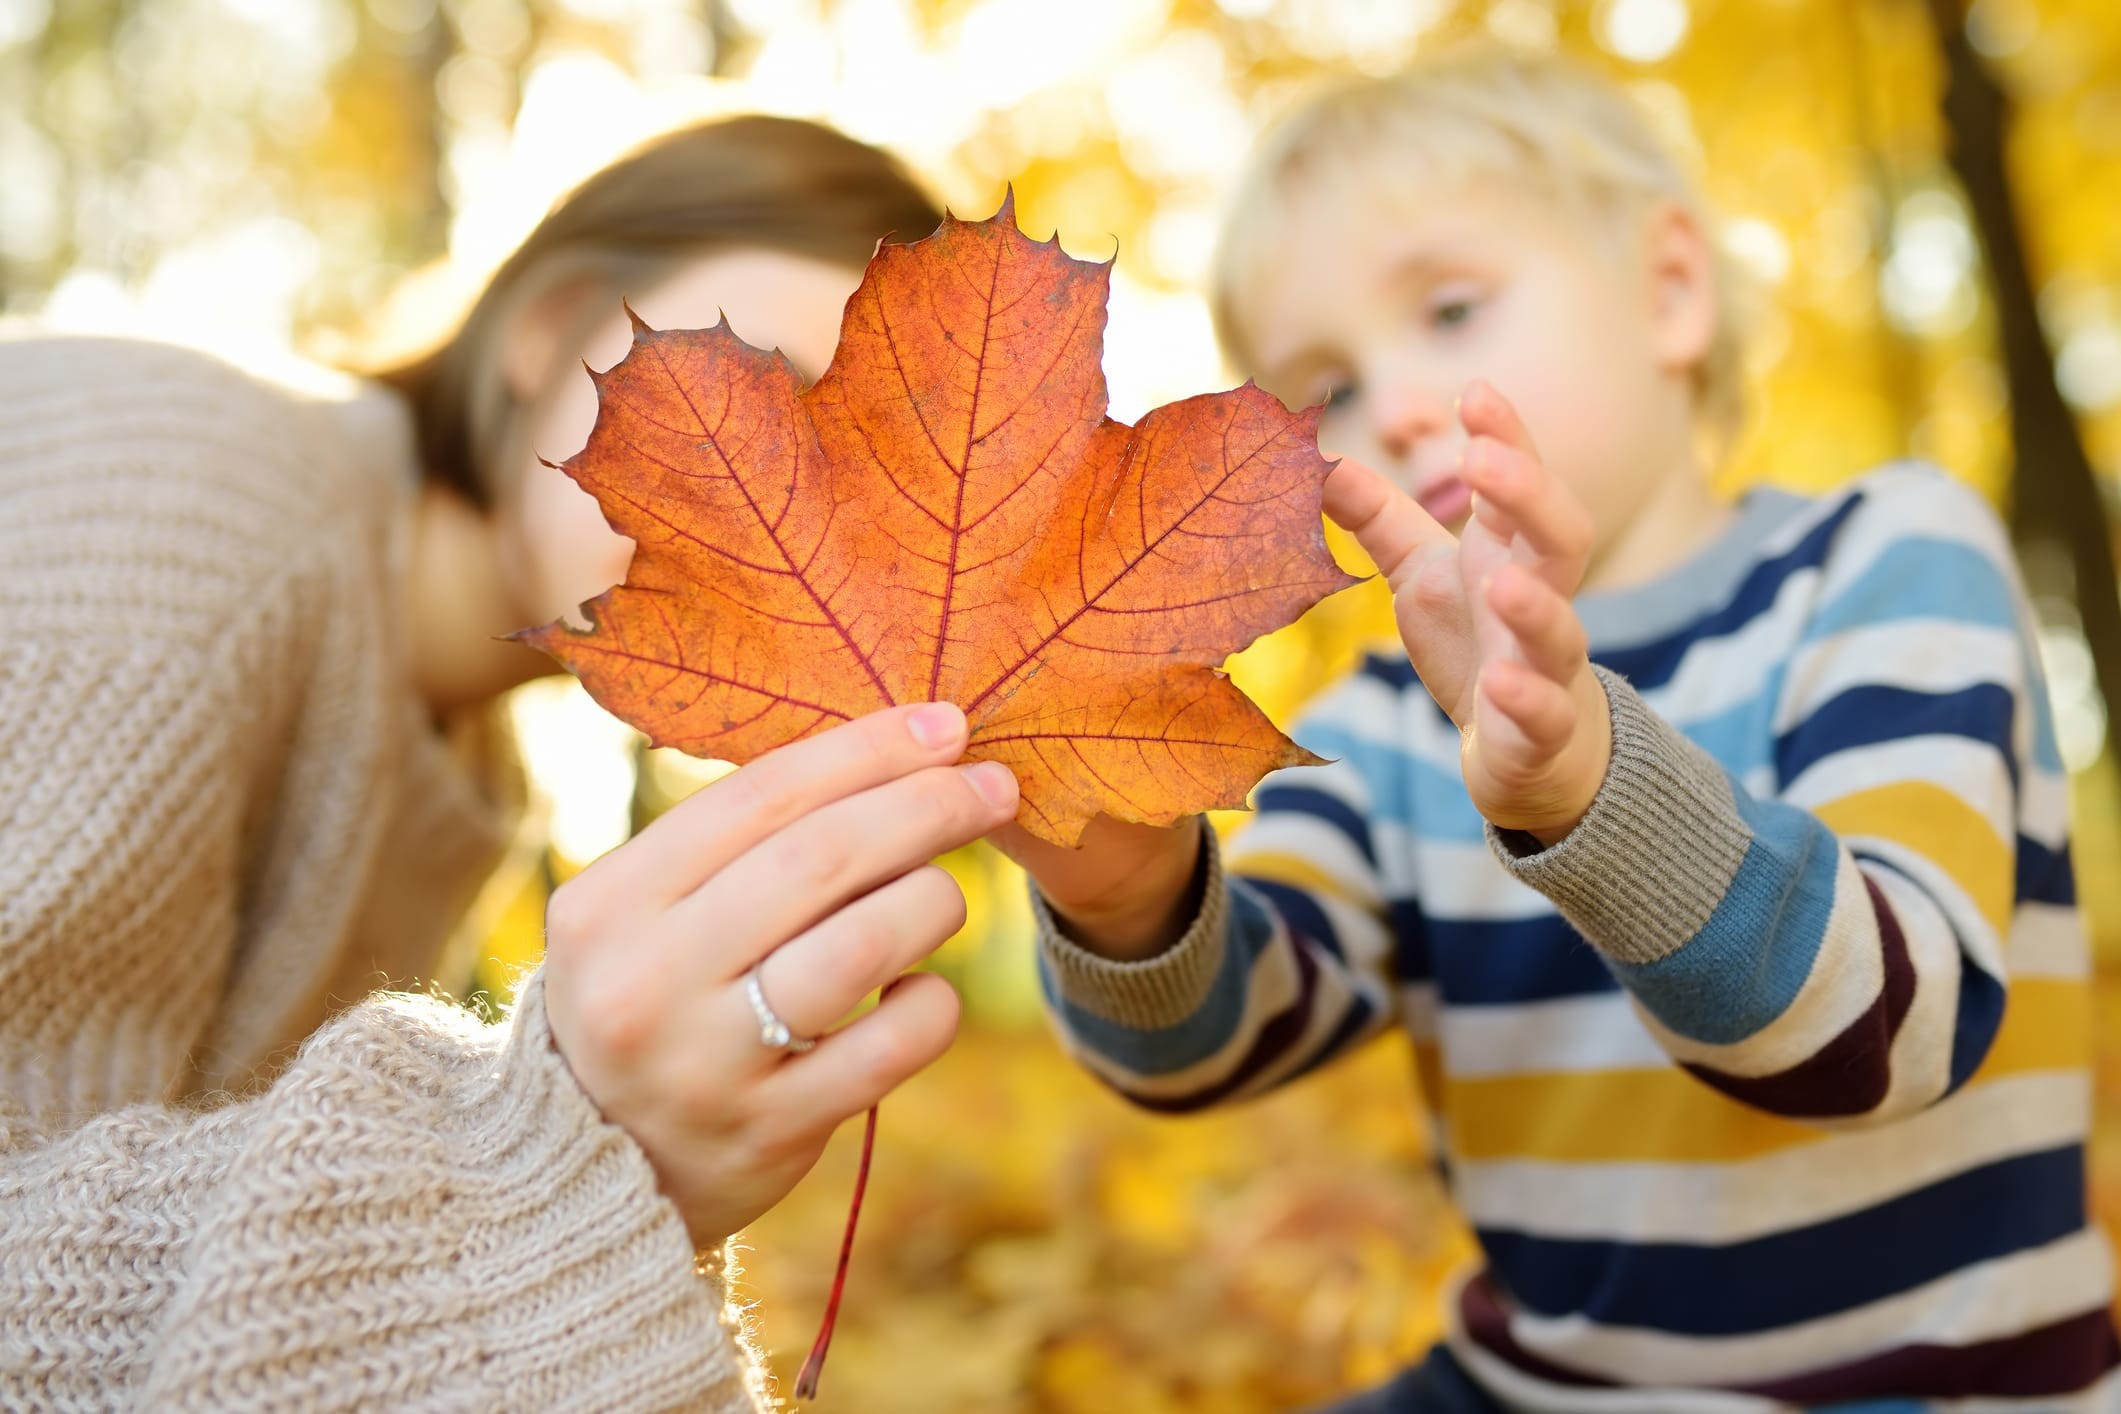
An autumn afternoon has a special atmosphere. The light dims. The air becomes fresher. It’s easy to stay inside with the radiator on and watch the screen. But there is something better. There are leaves everywhere. They crunch underfoot. They are free.
Use them in your projects and turn your walk into a treasure hunt. Turn your backyard into a workshop. No budget required. No need for expensive consumables. All you need is colorful leaves and basic tools.
Why use fallen leaves?
Fallen leaves are more than just trash to be picked up and put in a bag. They are raw materials. Available in red, orange, yellow and brown. Each has a different structure. Some are crunchy. Some are waxy. This diversity allows for different types of art.
Children learn about the seasons as they handling them. They see how chlorophyll fades. They understand the decomposition before it happens. It’s a little biology lesson disguised as a game.
“Nature offers us the best art materials if we stop treating them as waste.”
How to prepare leaf collection
You can’t just pick leaves off trees. It’s too wet. They are too fragile. Must be dried.
- ** Collect the right leaves. ** Look for recently fallen leaves. Avoid leaves that are mushy or moldy.
- **Clean gently. ** Wipe off the dirt with a dry cloth. Do not wash with water unless you intend to dry it immediately.
- **Press them. ** Place the leaves between the parchment paper. Place a thick book on top of it. Wait 3 days. This flattens them. stops them from curling. Long-lasting color.
You can also dry them quickly in the oven. Set it to the lowest setting. Leave the door slightly open. Check every 10 minutes. Don’t leave. They can burn.
A simple leaf art project
You don’t have to be an artist. These projects work for toddlers and older children.
Leaf rubbing
Use a white crayon. If you want to keep the wax clean, wrap it in paper. Place the pressed leaves under the tissue paper. Rub the crayon over the top. Veins appear. The texture shows up. This is magic. zero skill.
Leaf mosaics
Glue the leaves to the cardboard. Create a pattern. Animals are easy. Red maple leaves form the perfect body of the bird. Green oak leaves can be used as a tail. Use white glue. Allow to dry completely. This teaches shape recognition.
crown of leaves
Use flexible branches or paper plates cut into strips. Poke holes every inch. String leaves through the holes. Tie tightly. Children love wearing their creations. This way they stay outside longer.
Safety and cleanup
Safety matters. Even simple crafts.
Beware of sharp edges. ** Some leaves have serrated edges. They can cut small fingers.
* Avoid poisonous plants. ** Do not use poison ivy or oleander leaves. Know what you’re choosing.
Keep the glue away from the eyes. ** White glue is safe, but can sting.
* Dispose of waste materials properly. ** Compost your leftover leaves. Return them to the earth. it closes the loop.
Get the kids out of the house. Head to the nearest park or the edge of the forest. The purpose is simple. The goal is simple: collect dead leaves. This isn’t just about getting exercise. This forces you to pay attention to your surroundings. The colors. The shapes. The decay.
Let’s make it a game. Ask them to find leaves based on certain criteria. Sort by shade. Classify by shape. Or grab what caught their attention. If you find acorns, cones or broken branches, throw them in. A small bag or bucket is needed for transport. This first classification stage develops observational skills. Learn basic classification. It gets them off screens and into the dirt.
Make animals out of fallen leaves
When you have a lot of natural treasures, the real work begins. Let their imaginations run wild. Dead leaves have surprising uses. They are excellent materials for making animals.
Here is how you execute this without a mess:
- Choose a shape : Look for leaves that already resemble parts of an animal. Heart-shaped leaves? It is the body of a fish. A long strip? Cat tail. Combine natural shapes with your concept.
- Outlines : If the kids are young, start by drawing the outline of the animal on paper. This gives them a container for creativity.
- Glue carefully : Glue the leaves inside the lines. Use a glue stick. Using liquid glue can make fragile leaves watery and wrinkled. It must be flat and intact.
- More info : Grab markers. Draw the eyes. Add whiskers. Draw scales. Let them customize their creatures.
It’s not just a game. It forces fine motor control. You have to handle delicate and dry items. It develops patience.
Create an autumn nature picture
Sometimes you need a project that creates a work of art. A tableau combines craftsmanship and nature. The final product is something you can hang on your wall.
Follow these steps to create a durable and colorful display.
- Choose a base : Thick cardboard or blank canvas works best. Thin paper will warp under the weight of several leaves.
- Paint the background : Ask the children to mix the autumn shades. orange, red, yellow, brown. Paint the base layer and let it dry completely. If the paint is wet, ruins the gluing process.
- Place the elements : After drying, start placing the collected leaves. There are no hard and fast rules here. Spiral them out. Stack them like a bouquet. Scatter them like a storm. Add acorns and twigs for texture.
- Sign the contract : Spray a light coat of varnish over the entire piece. This protects the leaves from crumbling and prevents them from fading quickly.
This is a unique decoration. It awakens their artistic sense. It gives you something tangible from the walk.
There is always more to collect. The next batch of leaves will be different. The lighting will also be different. Projects change every time.
You don’t have to spend a lot of money to decorate your living room. All it takes is a little firefly magic. You can make leaf garland that glow from within. It is very warm. Very comfortable. It turns dead leaves into living things.
But first a warning.
Don’t use incandescent bulbs. It’s so hot that the maple leaves will crisp up in seconds. It’s not decoration. This is a fire hazard. You need LEDs. In particular, it has a low heat output. If you skip this step, you aren’t crafting. You play with matches.
Collect materials for leaf lights
You need three things.
- **The leaves. ** Large. In mint condition. There are no holes. There are no brown spots. Color is also important – red, orange, dark brown.
- The lights. LED fairy light set. Check the package. Look for something “cool” or low powered.
- Glue. A hot glue gun works best. It sets fast. Holds weight.
*Safety Note: Never leave a lit DIY garland unattended The cool LEDs also have power. Store away from curtains, etc. *
Assembly process
Start with leaves. Let’s line them up. Pick the winners.
Grab your hot glue gun. Load the stick. Wait until the tip heats up.
Take a leaf. Apply a small amount of glue to the end of the stem. Not the face of the leaf. The stem.
Wrap the leaves around the LED bulb. Press lightly. Glue is needed to secure the stem to the wire or to the base of the bulb. be careful. Do not cover the light source itself. We want the light to pass through the veins of the leaves. If you block it, it just becomes a brown blob.
Once the main leaves are on, add some drama. Cut a piece of clear fishing line or thin cotton thread. Tie the extra leaves between the bulbs. Let them hang out. Creates a airy, suspended effect. Like autumn leaves swaying in the wind.
Plug it in. Watch the shadows dance on the wall.
Beyond Lights: Leaf Collage Activity
If you don’t like light, try paper.
Kids love glue. It’s tactile. It’s very messy. It’s fun.
Get some thick cardboard. Draw a shape on it. square. triangle. It can be the rough outline of a bear or a tree.
Ask the children to fill in the shapes with the leaves. But don’t just paste them whole. Show them how to tear the leaves. Tearing creates texture. It creates interest.
Whole leaves are easier for young hands to use. For older children, try cutting or weave.
Add glitter if desired. It doesn’t look good. It also looks very festive. Or skip it. Real nature is enough.
Leaf Printing for Artistic Impressions
Want to create pieces that look like you’ve spent hours in an art studio?
You don’t need hours. You need paint.
Choose leaves with strong veins. Maple or oak are best. The structure is transfers well.
Place it face down on the paper.
Prepare a sponge brush or roller. Dip it in acrylic paint. Press the paint onto the top side of the leaf. Cover evenly. Do not soak. Just apply.
Press the paper against the painted surface. Wipe the back of the paper. Make sure the paint touches everything the leaves touch.
Peel it back slowly.
The vein pattern will be there. Sharp. Detailed.
You can reuse the same leaves. Wash off the paint with soap and water. Allow to dry. Dip it in a new color. Print again.
This is also one way to capture the seasons. You can also keep the prints. Frame them. Or you can use it as wrapping paper.
Why this matters
We throw away the leaves. We rake them into bags. We haul them to the curb.
But they are only materials.
When used in crafts, it changes the way you look at your garden. This is not a waste. It’s inventory.
Teach kids that creativity doesn’t cost money. It just requires attention.
Make a wreath. Make a collage. Print the leaves.
The lights go out eventually.
But what do you think of the next pile of brown leaves on the sidewalk? It sticks in your mind.
For a while.