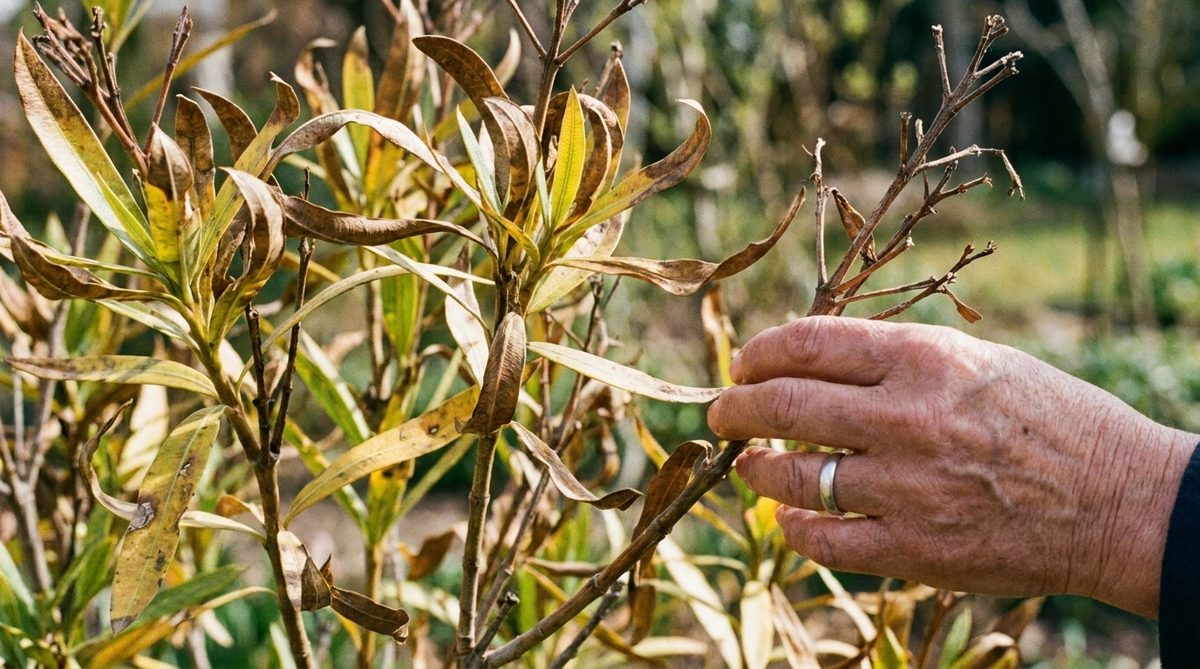
April. Finally the sun is shining. The birds are back. And the oleander on your balcony seems to have lost the battle with the charcoal briquette.
It’s depressing. The leaves are brown. Maybe black. You’re standing there holding a garbage bag, ready to throw the whole bush away and buy a new one. It’s tempting. It’s simple. But don’t do it.
That ugly, burnt-looking bush is probably still alive. It’s just in shock.
There’s a special, slightly aggressive ritual you can start now – in late April – to restore it. You will see results in 21 days. A deep cut requires sharp scissors and a gut. No fear. Let’s go to work.
Diagnostic test at the end of April
You need to know if the plant is dead before taking action. Appearance is a liar in the plant world. The leaves can die when the stem below is perfectly fine.
How to check.
Take your fingernail. Lightly scratch the bark of one of the main trunks. Just a small scratch.
If you see green under the brown bark, the plant is alive. The sap is still flowing. It is in a deep lethargy, waiting for a sign to wake up.
What if it’s completely dry and brown? Yes, it’s gone. But if that green hint appears? You save yourself a trip to the garden center. You have a project.
This is where timing matters. Don’t try this in the middle of winter. The plant cannot withstand stress. The end of April is the sweet spot. The risk of frost is reduced. Earth’s energy increases. The plant is primed to respond. Strike now and you’ll be working with nature, not against it.
Surgical Cut: Pruning for Survival
Now you have to do the hardest part. You have to cut the damage.
Grab your bypass pruners. Make sure they are sharp. Clean them with a little rubbing alcohol or bleach if you have other plants nearby to prevent the spread of the disease.
Start with the obvious. Cut off any leaves and branches that are brown, dry or black. Dead wood does not photosynthesize. It doesn’t grow. It just sits, steals energy and invites rot. Take it away.
But that’s not enough.
You have to go deeper. People hesitate here. They leave the branches because they look “good”. No.
You have to cut the stems until you hit green wood.
I mean green. Cut the stem. Look in the middle. If the cross section is brown or gray, continue cutting. Shorten the branch until the inside is fresh, moist and pale green.
You may need to cut the bush in half. Or more. It sounds radical, but it is necessary.
Why? Because strong pruning has the same effect as an electric shock to a plant. It forces the oleander to channel all of its remaining energy into the few buds that remain near the incision site. It initiates the emergence of new growth. It cleans out the clogged canopy so the plant can focus on rebuilding its structure from scratch.
Be ruthless. If you are gentle with scissors, you are harsh with the plant because it wastes resources on dead tissue.
Root Check: A hidden problem
Cutting the top off is only half the battle. You also need to pay attention to what’s going on below the soil line.
Oleanders are often planted in pots that are too small. After a few seasons, the roots grow round and tangle together so much that they suffocate. They form a solid mass. No room for water. No room for air.
When you wake up the plant with these heavy cuts, it needs more water and nutrients. If the roots are tied, it cannot deliver. The plant simply wilts again.
After the top is cut, remove the plant from the pot.
Shake off loose dirt. Look at the roots.
If they curl into tight knots and wrapping around the bottom like a snake, they have root binding. The soil is gone. The plant suffocates.
This is the time for replanting.
Just don’t push it into the same hole. Get a new container. It doesn’t have to be massive. Just a little wider than the current root ball. Make sure it has drainage holes. No exceptions.
Loosen the outer roots with your fingers. Don’t be afraid to gently pull them apart. This gives them room to grow outward into the fresh soil.
Fill the edges with good quality potting soil. Pour it in. Let it absorb well.
Next steps
You’ve pruned the dead wood. You have released the roots. You’ve given it a fresh start.
Wait now.
The plant is in survival mode. It’s conserving energy to push out those new shoots. It looks bare for a while. It’s normal. Don’t panic. Do not add fertilizer yet – the roots are stressed and the new growth is not ready for chemical load. Water it, place it in a sunny spot and let the spring warmth do the heavy lifting.
After three weeks, when you look at this pot, you will see little green buds poking through the bark. That’s life. This is a comeback.
But that’s just the beginning. You’ve fixed the foundation and cleaned up the damage. Now you have to manage recovery to make sure late frosts don’t kill new shoots or eaten by pests. The second part looks at the maintenance routine that ensures the new leaves stay green and grow.
First, take a breath. Your oleander is not dead. It just waits for you to do the work.
Deep soil nutrition with compost
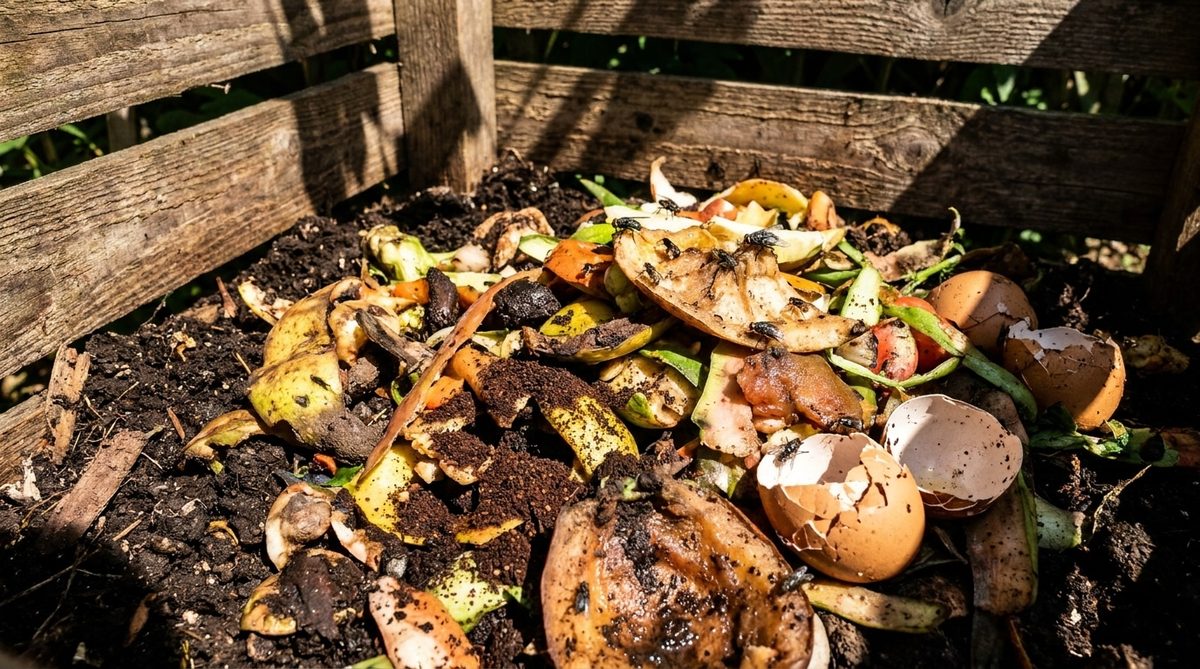
Restoring energy to a struggling plant isn’t just cutting it back; It’s about nourishing the soil where it stands. When replanting a plant entirely or simply replacing a few inches of old, depleted soil, the real magic comes from one ingredient: quality compost. Think of it as black gold for your garden. As this organic matter decomposes slowly, it rebuilds the soil structure from the inside out. This nutrient-dense blend provides the essential building blocks your plant needs to grow new leaves at an amazing rate. It’s not just fertilizer; It is a structural repair of the root zone.
Irrigation to support growth
Cleaning out the old soil is only half the battle. Immediately after adding fresh compost, you need to water it thoroughly. This first soak calms the soil and removes air pockets that can dry out the delicate roots. From there, consistency is non-negotiable. Keep the root ball evenly moist for the next two to three weeks. Not wet, but never dry. This steady hydration acts as a transport system that transports nutrients from the roots directly to the core of the plant and heals cell damage. Soil drying out completely during this window will slow down the recovery process.
Return to life: new shoots
The change happens out of sight, but within 21 days the results are undeniable. Look closely at the stumps where you made the cuts. You will begin to see small protrusions appear. They can have a red glow or a soft, delicate green. These are dormant buds that are waking up from the radical treatment you gave during peak sap flow. It is a metamorphosis that turns a seemingly dead bush into a living one. Watching these buds break through the bark of these buds is one of the most satisfying moments of gardening.
Summer Care Habits
Once you’ve confirmed that a vegetative resurrection is underway, don’t completely relax. Expose the new growth to as much light as possible, but avoid harsh midday sun. Morning sunlight is ideal; It helps to thicken the structure of the new leaves without burning them. Follow this strict watering schedule. When the temperature rises in summer, the plant’s need for water increases. Regular, gentle watering ensures that the blooms promised in midsummer come true. If you neglect it now, you could lose your hard-earned progress.
By combining hard pruning, fresh compost and regular watering, you’ll take advantage of the oleander’s incredible resilience. Three weeks of patience leads to an explosive return to life. We wonder why we ever throw away plants that can no longer be saved. Sometimes all it takes is a little courage and the right amount of water for nature to do its job.