It is late October 2025. The daylight is fading, and the instinct to make your home feel warmer is kicking in. You want a mirror in the living room or entryway. But you have a problem. Your walls are fragile. Maybe it’s drywall. Maybe it’s delicate tile you absolutely refuse to drill into. You are terrified of dropping a brand-new mirror while trying to mount it.
Do you really need to pull out the drill and turn your wall into Swiss cheese?
No. There is an ultra-fast method that requires zero screws. It works. It holds heavy loads. And it saves your deposit.
Why traditional mounting fails on tricky surfaces
This is a common headache. Plasterboard, plaster, and aerated concrete walls do not forgive mistakes. They crack under excessive load. Then there is the aesthetic argument. You do not want ugly holes in carefully laid tiles. If you are a renter, the security deposit is at stake. You cannot risk a mirror shattering into a thousand pieces on the floor.
We want simplicity. We want speed. We want cleanliness.
In 2025, efficiency beats the “man cave” mentality. DIY no longer means endless construction zones. Yet, myths persist. Many believe only screws and wall anchors can hold a heavy object. Adhesives are dismissed as unreliable, suitable only for lightweight decor. This is outdated thinking. The technology has evolved. Radical solutions exist. They are tested. They are approved.
The secret: Ultra-resistant double-sided adhesive strips
The game-changer is the arrival of high-strength double-sided adhesive strips. These are not the cheap foam tape from a discount bin. We are talking about industrial-grade materials capable of supporting loads up to 10 kg. Some models handle even more.
No more anxiety. No more compromises.
How to choose the right strips for heavy mirrors
Selection is everything. Look for brands that specialize in glass and smooth surfaces. Compatibility with your wall type is fundamental. A strip designed for concrete may fail on melamine cabinet doors or drywall.
Check the weight rating on the packaging. Never assume. Aim for a safety margin of 20% above the actual weight of your mirror. If your mirror weighs 8 kg, look for strips rated for at least 10 kg.
The decisive step: Surface preparation
The secret to a flawless hold is not the glue. It is the prep. Dust, grease, and detergent residue are the enemy of adhesion.
Clean the wall and the back of the mirror. Use a microfiber cloth soaked in rubbing alcohol or household cleaner. Wipe thoroughly. Let it dry completely. This takes only a few minutes. But it sets the stage for a permanent bond.
Adhesion fails when surfaces are contaminated. Cleanliness is non-negotiable.
Pro tips: Errors to avoid
Do not apply strips to fresh paint. Fresh paint has not cured. It will peel. Do not apply to damp surfaces. Moisture breaks the bond. Do not use crumpled strips. They must be flat against the surface to ensure full contact.
Never underestimate the number of strips needed. It is better to use too many than too few. A sudden drop in the morning is a nightmare you do not want to experience.
Step-by-step guide: Professional installation without drilling
You need specific tools. Here is what to gather before you start.
- High-load double-sided adhesive strips (check the brand rating)
- Clean microfiber cloth
- Rubbing alcohol or acetone
- Tape measure
- Spirit level
- Pencil or masking tape for marking
- Scissors or utility knife
The installation process
Step 1: Dry fit and mark
Place the mirror on the floor. Decide exactly where it will go. Use a pencil or masking tape to mark the positions on the wall. Mark the corresponding spots on the back of the mirror.
Step 2: Apply the strips
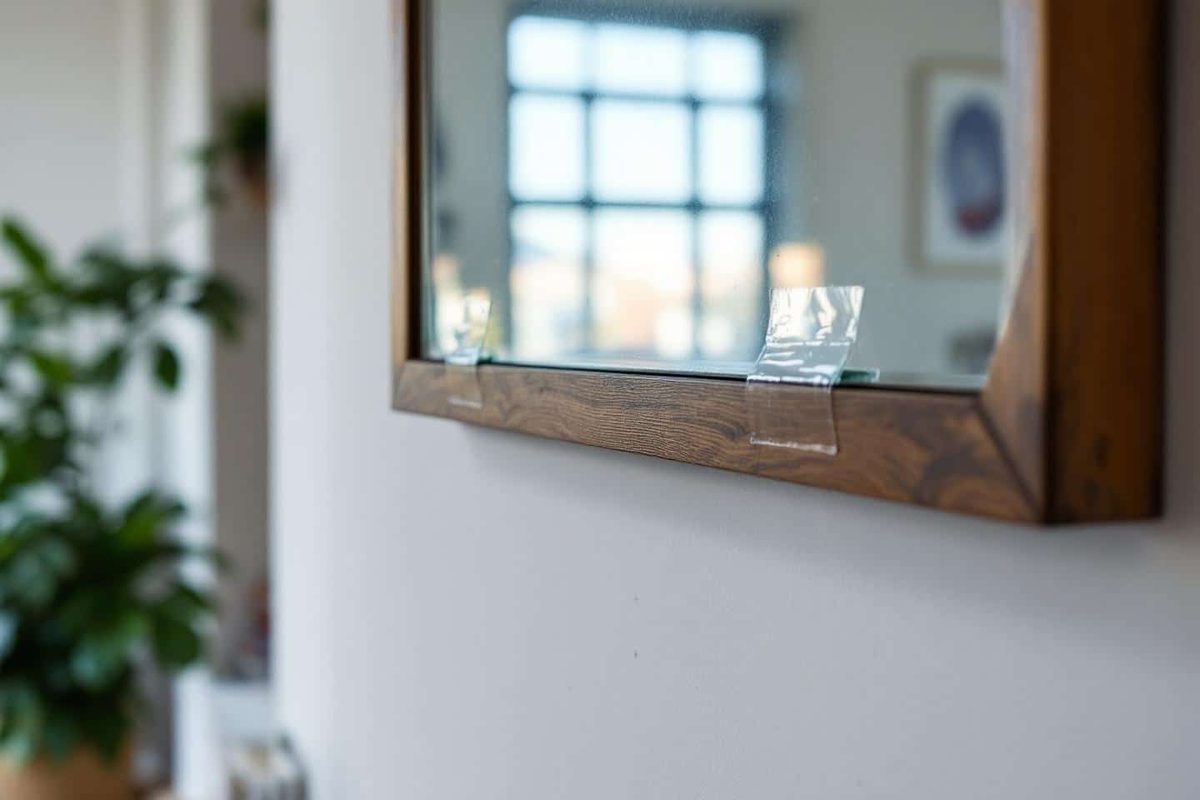
Cut strips to match the width of the mirror. Apply them to the back of the mirror. Press firmly to remove air bubbles. Reinforce the corners. Corners are high-stress points during handling.
Step 3: Mount the mirror
Peel off the protective backing from the wall-side of the strips. Position the mirror against the wall. Use the spirit level to ensure it is straight.
Step 4: Press and hold
Do not let go. Apply firm pressure to the entire surface for 60 seconds. This activates the adhesive. It ensures maximum contact.
Safety check
Keep your hand under the mirror for two minutes after placement. Gently move it side to side. Feel for resistance. If it holds, you are good.
Wait 24 hours before hanging anything on the mirror or cleaning it. Let the bond cure.
The wall remains pristine. The mirror is secure. The drill stays in the toolbox.
But is that enough for a floor-to-ceiling piece? Or do you need a different approach for vertical installations? We will look at the next layer of complexity in part two.
The adhesive strategy That Really Works
You don’t need a drill. You don’t need a level. You just need the right tape and patience to let it do its job. Most people fail because they treat adhesive strips like ordinary Scotch tape. They are not. These are engineered solutions designed to withstand considerable weight without damaging your walls.
Start by cleaning the wall. Seriously. Wipe it with isopropyl alcohol or a strong degreaser. Dust, oils from your hands and moisture are the enemies of adhesion. If the surface is not flawless, the tape will not stick. Let it dry completely.
Next, choose a weapon. Not all tapes are the same. Look for strong acrylic foam tape or special mirror mounting strips. Check the weight rating. If the manufacturer says it can hold 10 pounds, don’t hang a mirror that weighs 12 pounds. Give yourself a margin of safety.
Application process
Press the strips onto the back of the mirror. Carefully follow the manufacturer’s instructions. Typically, this means removing the liner and pressing each strip firmly for at least 30 seconds. This activates the adhesive. Don’t skip this.
Now comes the hard part. Wait.
Most high-performance tapes require 24 to 72 hours to reach full strength. If you hang the mirror immediately, you run the risk of a slow slide or a sudden drop. This is how broken glass and broken promises happen.
When you are ready to mount, carefully align the mirror. Once it touches the wall, it can no longer be moved. Press down firmly. Use your body weight if needed. Hold it there for a minute. This ensures maximum contact area.
Why this method is better than drilling
Anchors, bolts and a spirit level are needed to drill drywall. It’s messy. It creates dust. Holes will appear that need to be filled and painted. Hanging the mirror with tape is cleaner. It’s faster. It’s reversible.
This is especially useful in rental apartments or with sensitive wall coverings such as plaster or wallpaper. You preserve the integrity of the wall. You avoid the stress of finding a stud in a specific spot. Get a clean, professional look without the hardware.
Safety and maintenance
Even with strong tape, gravity is still gravity. Avoid hanging extremely heavy mirrors on thin drywall without checking the studs. If the mirror is large, distribute the weight over several strips. Don’t rely on just two.
Keep the area dry. Excessive moisture can weaken some adhesives over time. If you notice the mirror moving, remove it and replace the tape. Do not attempt to reattach the old tapes. They don’t work twice.
Result
A mirror that stays put. No holes. No visible fasteners. No stress.
It’s a simple solution that many people overlook and prefer traditional methods. But when done right, it’s incredibly reliable. You get the aesthetic benefit of a floating mirror without the structural commitment.
This approach works best in a dry, stable environment. If you live in a humid bathroom, make sure the adhesive you choose is moisture resistant. Otherwise, stick to dry living spaces.
The goal is not just to hang the mirror. It’s about hanging it so well that you overlook it’s there. Until you